Category: Video
October 13, 2017
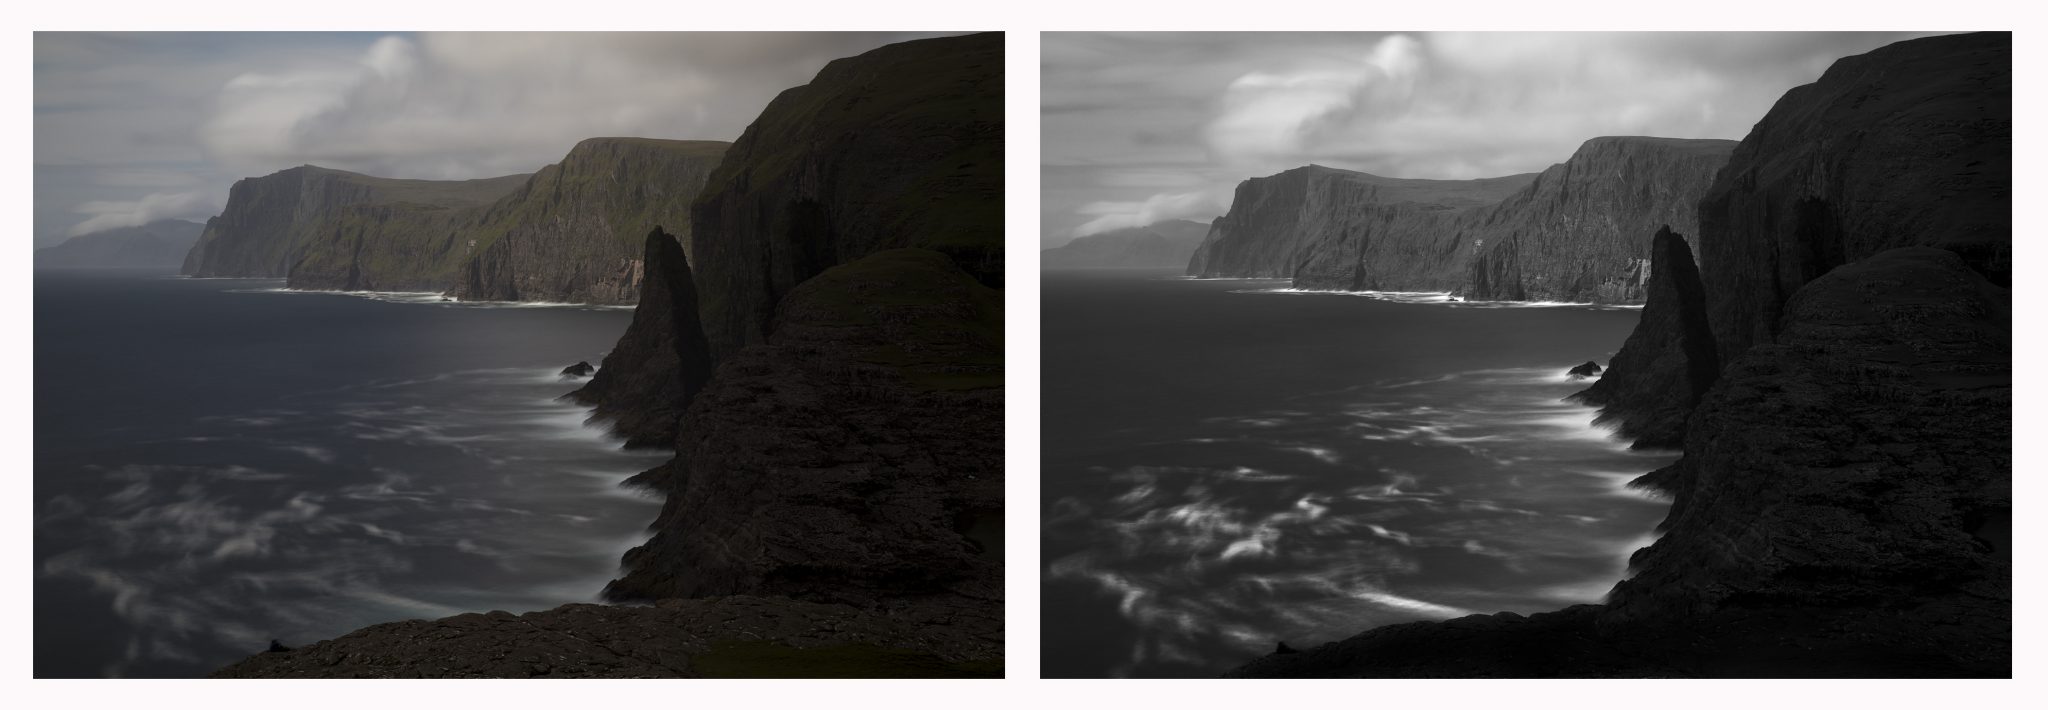
I’ve been home from the Faroe Island for several months now and I am still working on my new images. I was there for a month and took 1600 images. So far, on my first pass through the images, I have about 80 keepers. Once I go through those a second time, I expect to lose about two thirds of those. If I end up with 25 solid images, I will be very happy.
The last time I demonstrated the processing of an image, I duct-taped my iphone to a tripod and simply recorded my computer screen. Well, I’ve gotten a little more sophisticated and have now purchased a screen recording program. It was easy to use and the quality is good.
For this demonstration I’ve chosen a fairly simple image, No. 71 above with a before and after.
As always, I follow my “Photoshop and Six Tools” processing format. You can read about this approach here: Photoshop and Six Tools (it’s a very short read and it will help the video demonstration make more sense).
Each time someone watches me process, it becomes quickly apparent that I am not Photoshop expert. Invariably people will tell me either what I’m doing wrong or how I could do it differently.
I know that I am not an expert and the thing is, I don’t want to be! I have found a very simple method of post-processing that allows me to translate my Vision into an image. That’s all I care about, and the simpler the better.
So here is the video, I hope it gives you some ideas for your post-processing.
Cole
September 10, 2015

Several years ago a friend of mine, Greg McKean of Master Photo Workshops, shot a video featuring me in Death Valley. And through a series of unfortunate events, we were never able to finish it…until now.
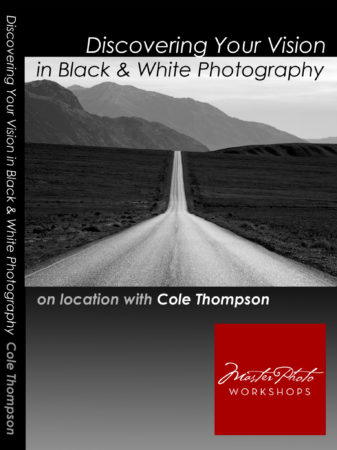
This video is entitled “Discovering Your Vision in Black and White.” It’s a two CD set: one shot in the field and the other at the computer showing my very simple Photoshop techniques including dodging and burning with a pen and tablet.
My biggest concern while shooting was: What if I don’t see any good images, I’ll be documenting myself failing! Fortunately we found a few including “The Road to Nowhere” above. This video will show you how I saw it, shot it and processed it.
To kick start the introduction of this set, Master Photo Workshops is offering a 15% discount between 9/16/2015 and 9/23/2015. Just use the promo code “masterblackandwhite” when ordering. Here’s where you can learn more:
http://masterphotoworkshops.com/catalog/discovering-your-vision
This video an honest representation of what I believe, how I see and the way that I work. I sincerely hope that you will find it interesting and helpful.
Cole
May 21, 2015

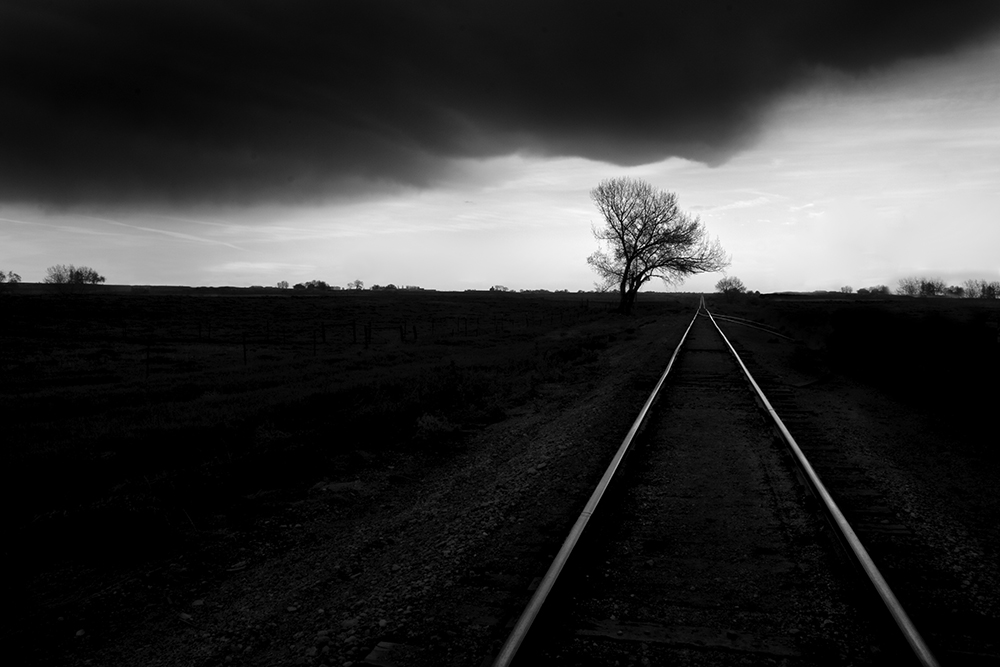
Yesterday my friend John Evans Jr. and I were talking about how I process my images. He shoots these great color shots of the St. Louis Gateway Arch and recently showed me the image above. He was trying it in black and white and called with a few questions about my processing techniques, and I was trying to describe some of my techniques over the phone.
It is difficult to convey some things with words and so I told him that I’d make a quick and dirty video of me processing an image.
For years I hid my workflow from others because I thought it simple and backwards. As I listened to other photographers talk about their sophisticated processes, I was embarrassed to let them see my rudimentary ones. What if they started asking me about layers…I don’t understand or use them!
Fortunately with time I came to the realization that it’s not about my processes, it’s about my images. Nothing else matters.
There are many ways to use Photoshop and I doubt many photographers use more than a small percentage of its many tools. There is no right way or wrong way to use it and not one workflow will be right for everyone.
My procedure works for me and I’d like to share it to illustrate a point: that you don’t need to know a lot about Photoshop or have a complicated workflow to produce beautiful images.
Here are the six tools that I use to process most of my images:
1. RAW Converter – I use Photoshop’s RAW converter to convert my RAW image into a 16 bit, 300 ppi TIFF file. There are also a number of image controls in the RAW converter and I try to do as much work here as possible.
2. B&W Conversion Tool – I like Photoshop’s b&w conversion tool and play with each color channel to see how it affects the different parts of my image. I tweak everything to taste. But be careful about changing the blue channels too much, they make your skies look great but add a lot of noise to the image.
3. Levels – One of the most basic secrets to a great b&w image is to have a good black and white in the image. You cannot trust your eye and how the image looks on the monitor, you must look at your histogram to accurately determine this. I use “Levels” to set a true black and white point, then I adjust the midtone slider which can radically change the look of my image.
4. Dodging and Burning – This is where I do most of my processing and where I have the most fun! I feel most at home with dodging and burning because that’s how I did things in the darkroom. However the primary difference today is that I can take my time and exercise minute control over every part of the image.
I use a Wacom tablet to dodge and burn because you CANNOT do a good job with a mouse. It is difficult to describe with words how I dodge and burn and so I hope the video helps illustrate this.
5. Contrast Adjustment – Once the image looks great on the screen, experience teaches me that it will print flat, and so I add some contrast. A monitor uses transmitted light and a print uses reflective light, so that means it will take a lot more work to get your print to look as snappy as it does on the monitor. Contrast helps.
6 Clone Tool – I use the clone tool to spot my images. Cloning is so much better than the old days when you had to spot every spot, on every single print and your mouth would taste like Spotone all day!
In sharing these six steps, my point isn’t that you should imitate my workflow, but rather that a workflow need not be complicated. Did you notice that I didn’t make mention of special b&w conversion programs, plug-ins, curves or layers? I also don’t use monitor calibrators, profiles, RIP’s or special inksets.
I use Photoshop and six tools. Ofttimes there’s beauty in simplicity!
Here is a quick and dirty video demonstration of my Six Steps.
Cole
P.S. My apologies for such an amateurish video, but I knew that if I waited until I learned to do it more professionally, it would never get done.
March 26, 2015

Set the video to 720 for a better viewing experience!
June 15, 2011

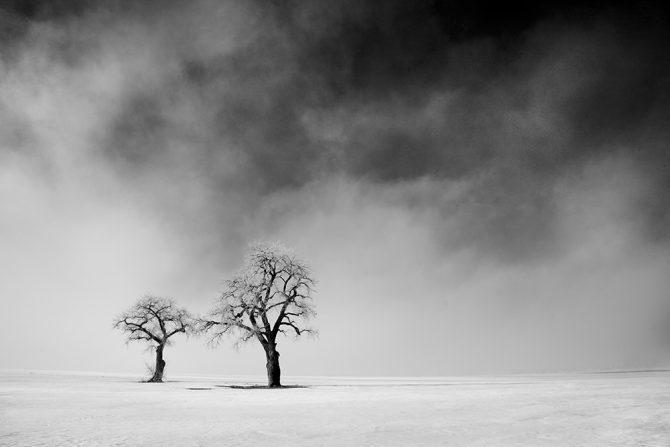
See my new video: “Trees“
Or see the images at: https://colethompsonphotography.com/portfolios/collections/trees/
I do enjoy working on portfolios, or cohesive bodies of work. There is something very satisfying about looking at your images on one subject, and see how the arrangement itself can become a new piece of art.
I know several people who have done the “photo a day” project and chose to focus on just one subject for an entire year. I think that’s a fun idea and my guess is that you’d create a very exciting portfolio!
Cole
February 4, 2011

I’ve just created a new “Cole Thompson Photography” YouTube channel. Here you can see all of my videos in one place and if you subscribe, you’ll be notified when new videos come out. To subscribe, please follow this link and hit the “Subscribe” button at the top of the page:
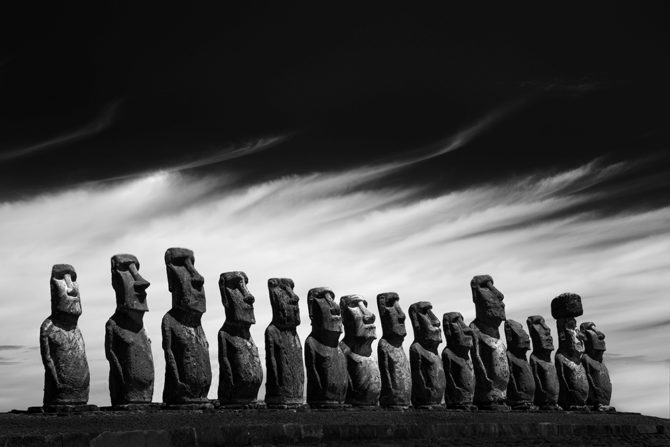
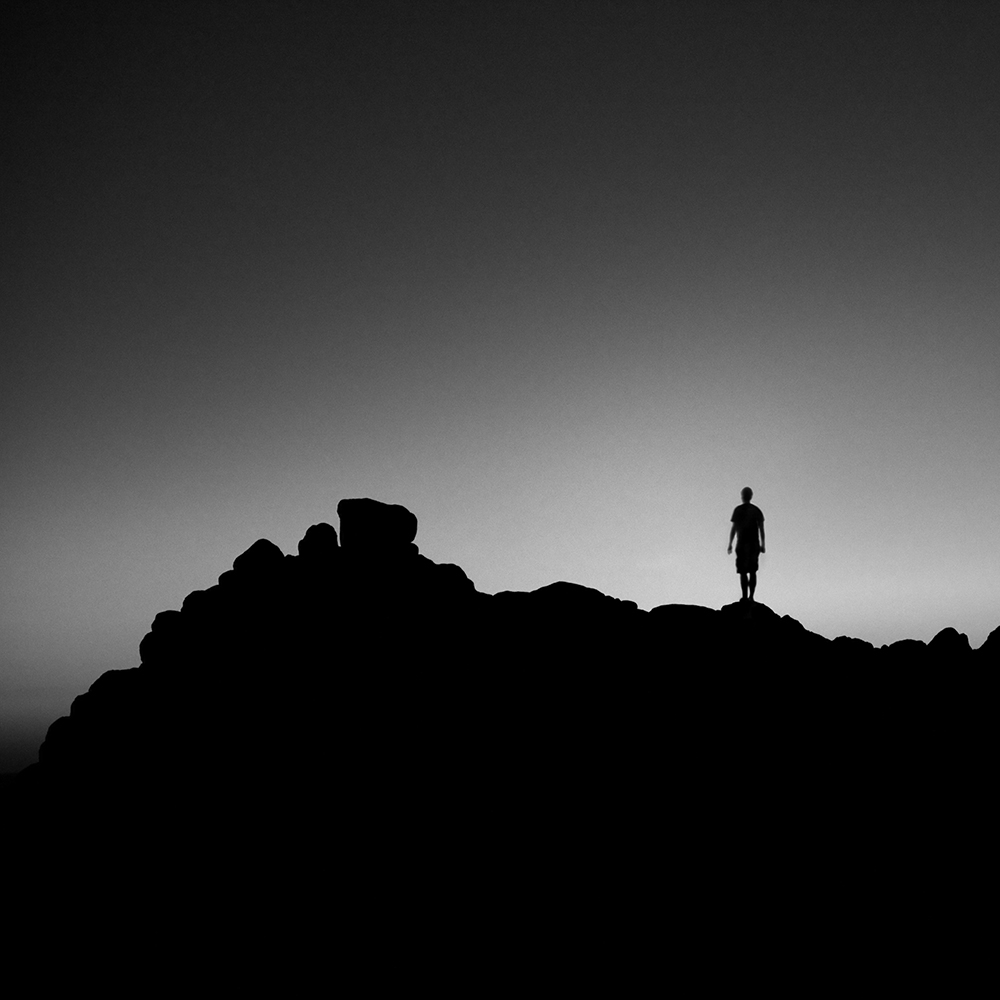
I’ve also just posted three new videos based on the images from my Lone Man and Monolith portfolios and one covering the new images from my 2/4/2011 Newsletter. You can see these here:
You might wonder why I’m creating these videos? There are a few reasons;
- It’s a different way to reach different people, those who may not normally visit a photographer’s website.
- The images often have more impact when viewed together as a group and with great music.
- It’s a lot of fun to create these, using your favorite music and experimenting with different transitions.
- It’s a good way to build traffic to your website and to improve your SEO.
What do I mean by SEO or Search Engine Optimization? Go to Google and type in “b&w fine art photography” and tell me what you see.
Thank you everyone for your support and comments, I do appreciate it!
Cole
January 20, 2011

 I’ve just completed filming two DVD workshops, one on “Black and White Photography” in Death Valley and the other on “Long Exposures” filmed at La Jolla in San Diego. During the production a recurring theme kept coming up; that the foundation of a great image is a great composition and there are no substitutes. Using long exposures, HDR, shift-tilt, pinhole, Holga, soft focus, retro treatments, infra-red, or any technique and look are simply poor substitutes if the image is not built upon a solid composition.
I’ve fallen into this trap before, thinking that a particular “look” would make my work unique and therefore successful. Unique is certainly not a bad thing, but just because I’ve created a unique look doesn’t mean that I’ve created a great image!
My art is always best when I focus on the composition and then use a technique or look to enhance an already great image.
Cole